
The Art of Top-stitching
I top-stitch a lot when I design projects, not quite #TopStitchAllTheThings, but, well, maybe top-stitch most of the things! I know the thought of creating a line of stitching that is out there for all to see can be intimidating, especially if you don’t have a lot of experience. These are the methods I use to help me stitch straight lines wherever I need them.
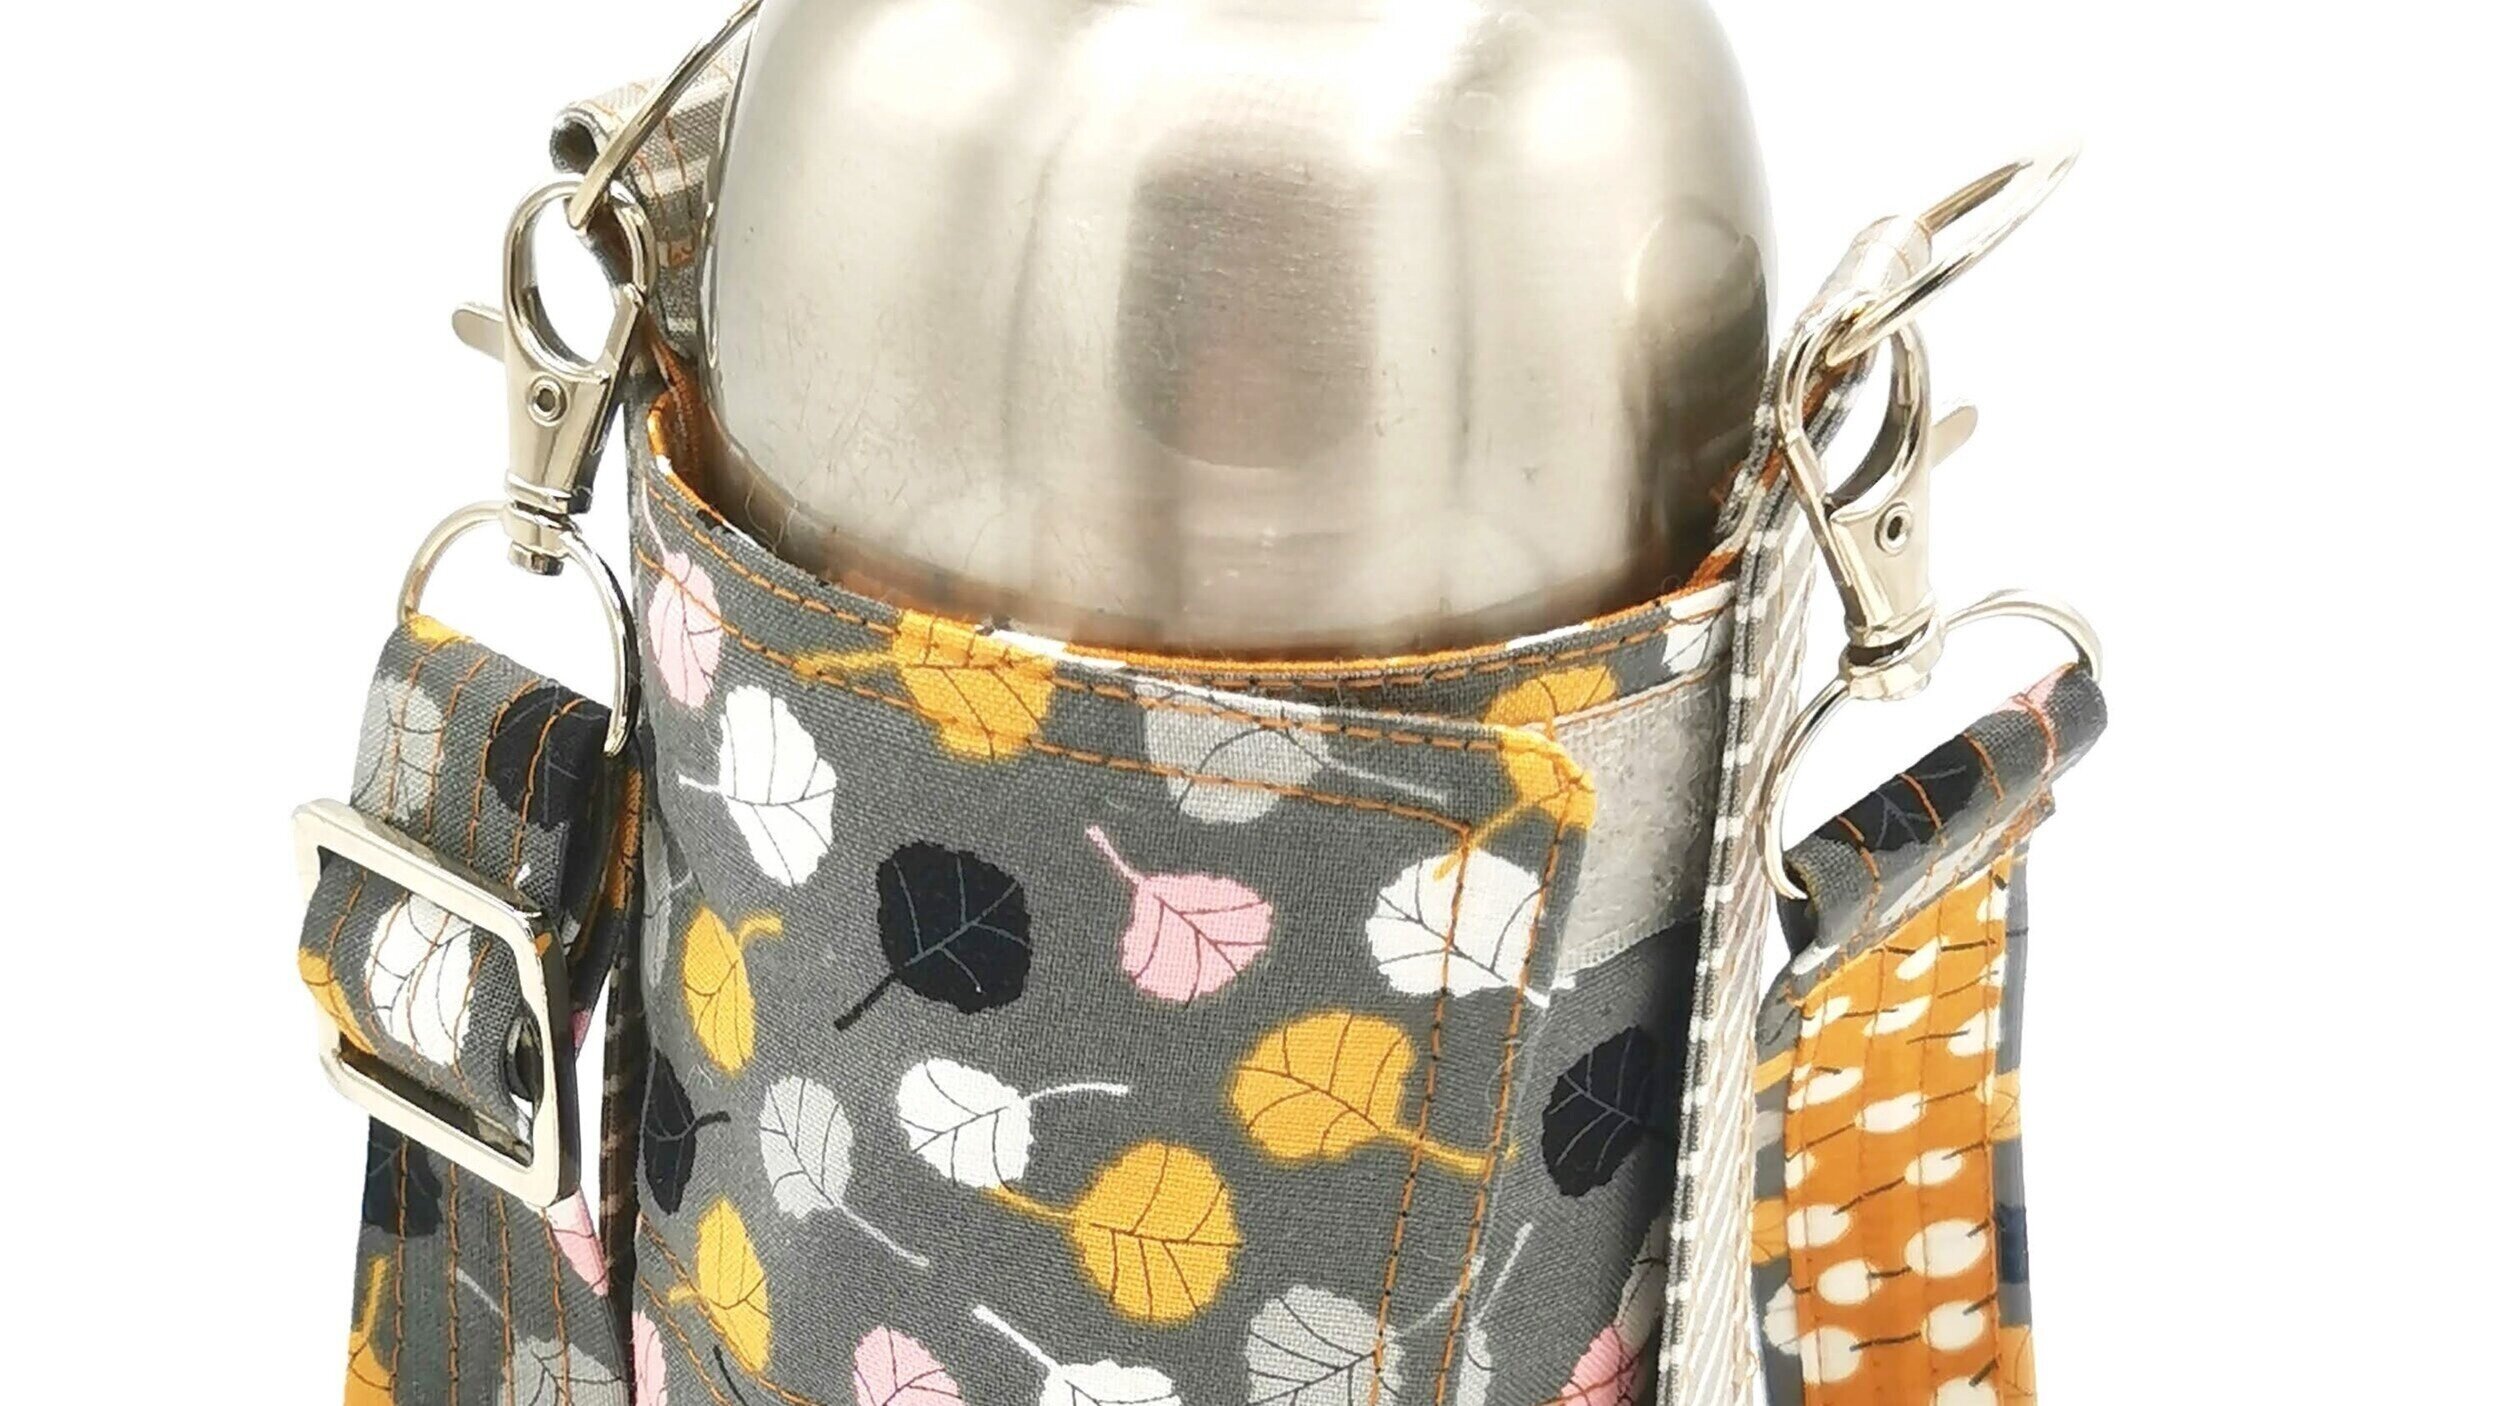
The Adjustable Bottle Sling
This pattern has double top-stitching around the edge and across the middle of the main piece, plus four rows on the strap.
Top-stitching, and it’s sister edge-stitching, serve a few purposes.
They control the layers of fabric, particularly by stopping any seams from rolling
They flatten the layers, which is particularly useful if you are using a foam or fleece inside your project
They can divide pockets into multiple sections
They can join two elements together, for example, a flap onto a bag
Multiple layers of stitching (quilting) can add rigidity to your piece
And the last, maybe the most important, is that it is a styling feature, which helps with the look of the item. Edge-stitching is associated with a formal look, while double top-stitching can look sporty or outdoorsy.
You will be really pleased to know that you don’t have to have a steady hand and a straight eye to achieve great top-stitching! While you can just top-stitch by eye, there are also various items that can guide your stitching, which is great if you are tired and don't have the energy to focus on every stitch.
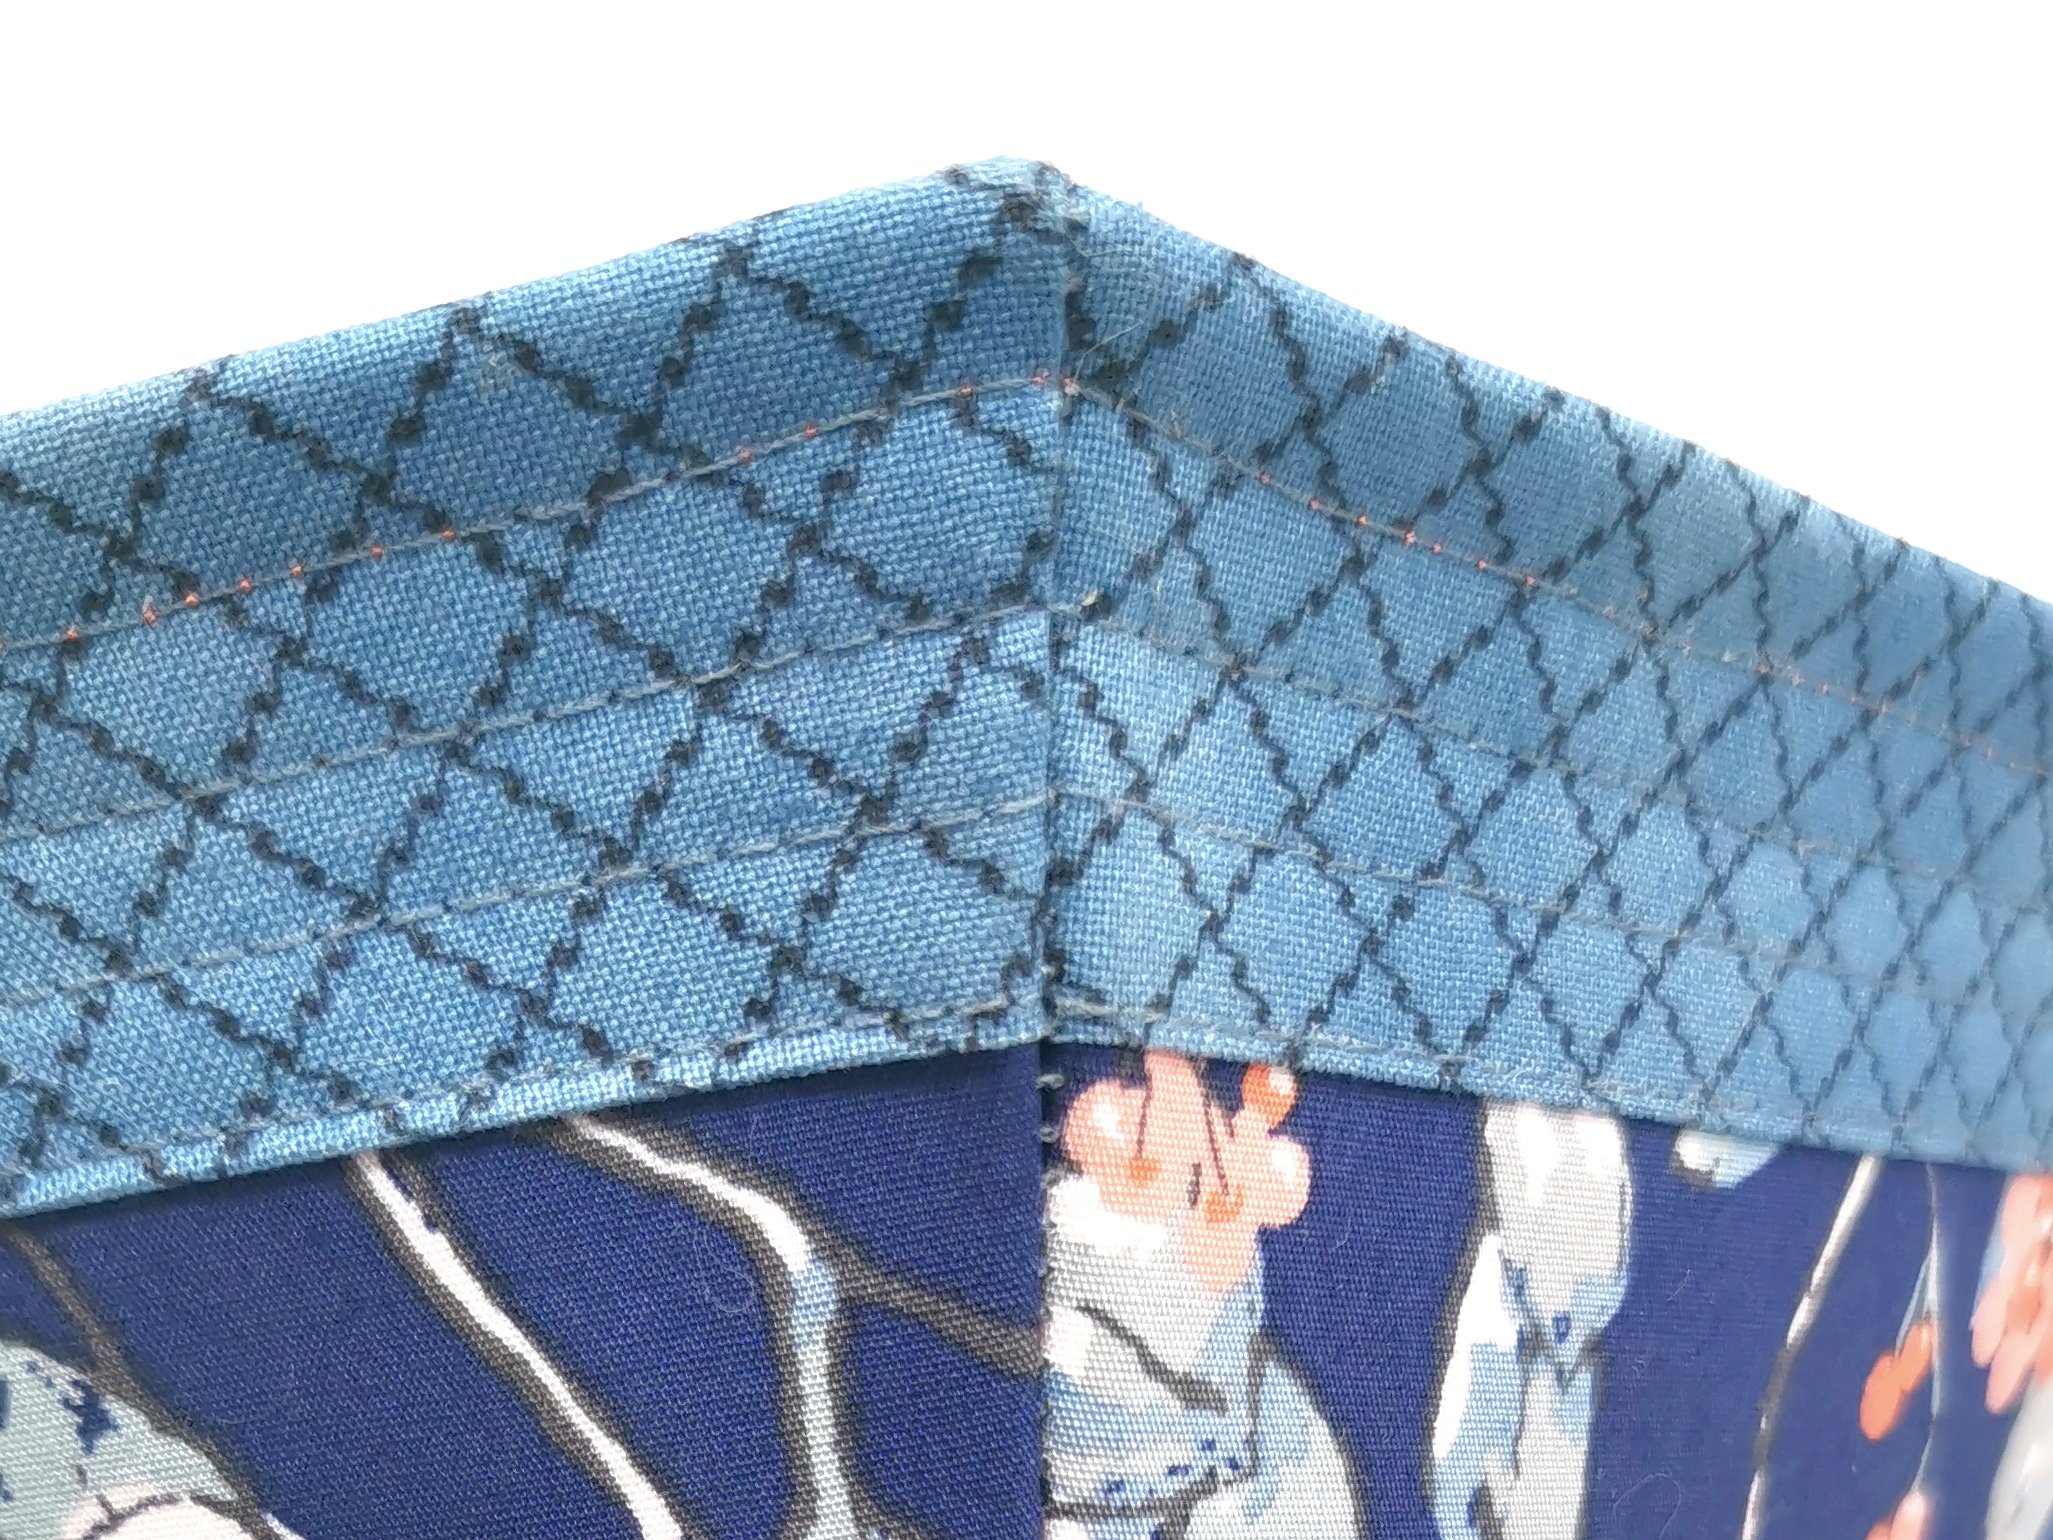
Tidy-Up Storage Basket
The trim is initially edge-stitched and top-stitched into position, then the final two rows of top-stitching happen after the lining has been added. These last two rows add stability to the edge.
You know your top-stitching is good when it is not only straight, but is a constant distance from the seam or edge. Edge-stitching is exactly that, stitching that is right next to the edge. Top-stitching is usually ⅛” (3mm), ¼” (6mm), or ⅜” (1cm) away from the edge. If the item you are sewing is more bulky, you will need to stitch further from the edge.
You can use your standard machine feet to achieve the size you want, or you can use something a bit more specialist. In the pictures below you can see a range of feet that I use regularly, depending what I am stitching.
These first two feet don’t have any extra guides to help you, but it is useful to see the spacings you can achieve just by guiding your fabric along the edges of the feet.
1. Standard Machine Foot
This one came with my machine. The tiny notch in the centre shows the needle position. If you guide the fabric slightly to the right (or left), you get edge-stitching. The distance between the edge of the foot and the needle is around ⅜” (1cm).

2. Open-toe foot
This one allows you to clearly see where you are stitching. The inside edge of the side of the foot is exactly 1/8” away from the needle position, allowing for a narrow top-stitching. The outside edge is just under 3/8” away.
If you feel you need a bit more help, you can use a foot that has some sort of lip that you can guide the edge of the fabric along.

3. Quarter inch foot
This one is one of my most-used machine feet. If you guide the edge of the lip along the fabric edge or seam, your stitching line will be exactly 1/4” in. When you get to the end of your seam, if you stich across a couple of stitches and turn the piece around, you can guide the lip along your original stitching line to get perfect double top-stitching.

4. Blind hemming foot
I am not embarrassed to admit I have never used this foot for its official purpose! The lip on the side of the foot is adjustable, so great to use to get exactly the spacing you need. This one is great for edge-stitching.

5. Adjustable guide foot
At least, I think that’s what this foot is called! The minimum setting is ⅜” (1cm) away from the stitching line, so this is best for wider spaced stitching.
There are a couple of other helpers you can use, either with your usual foot or in combination with one of the above.
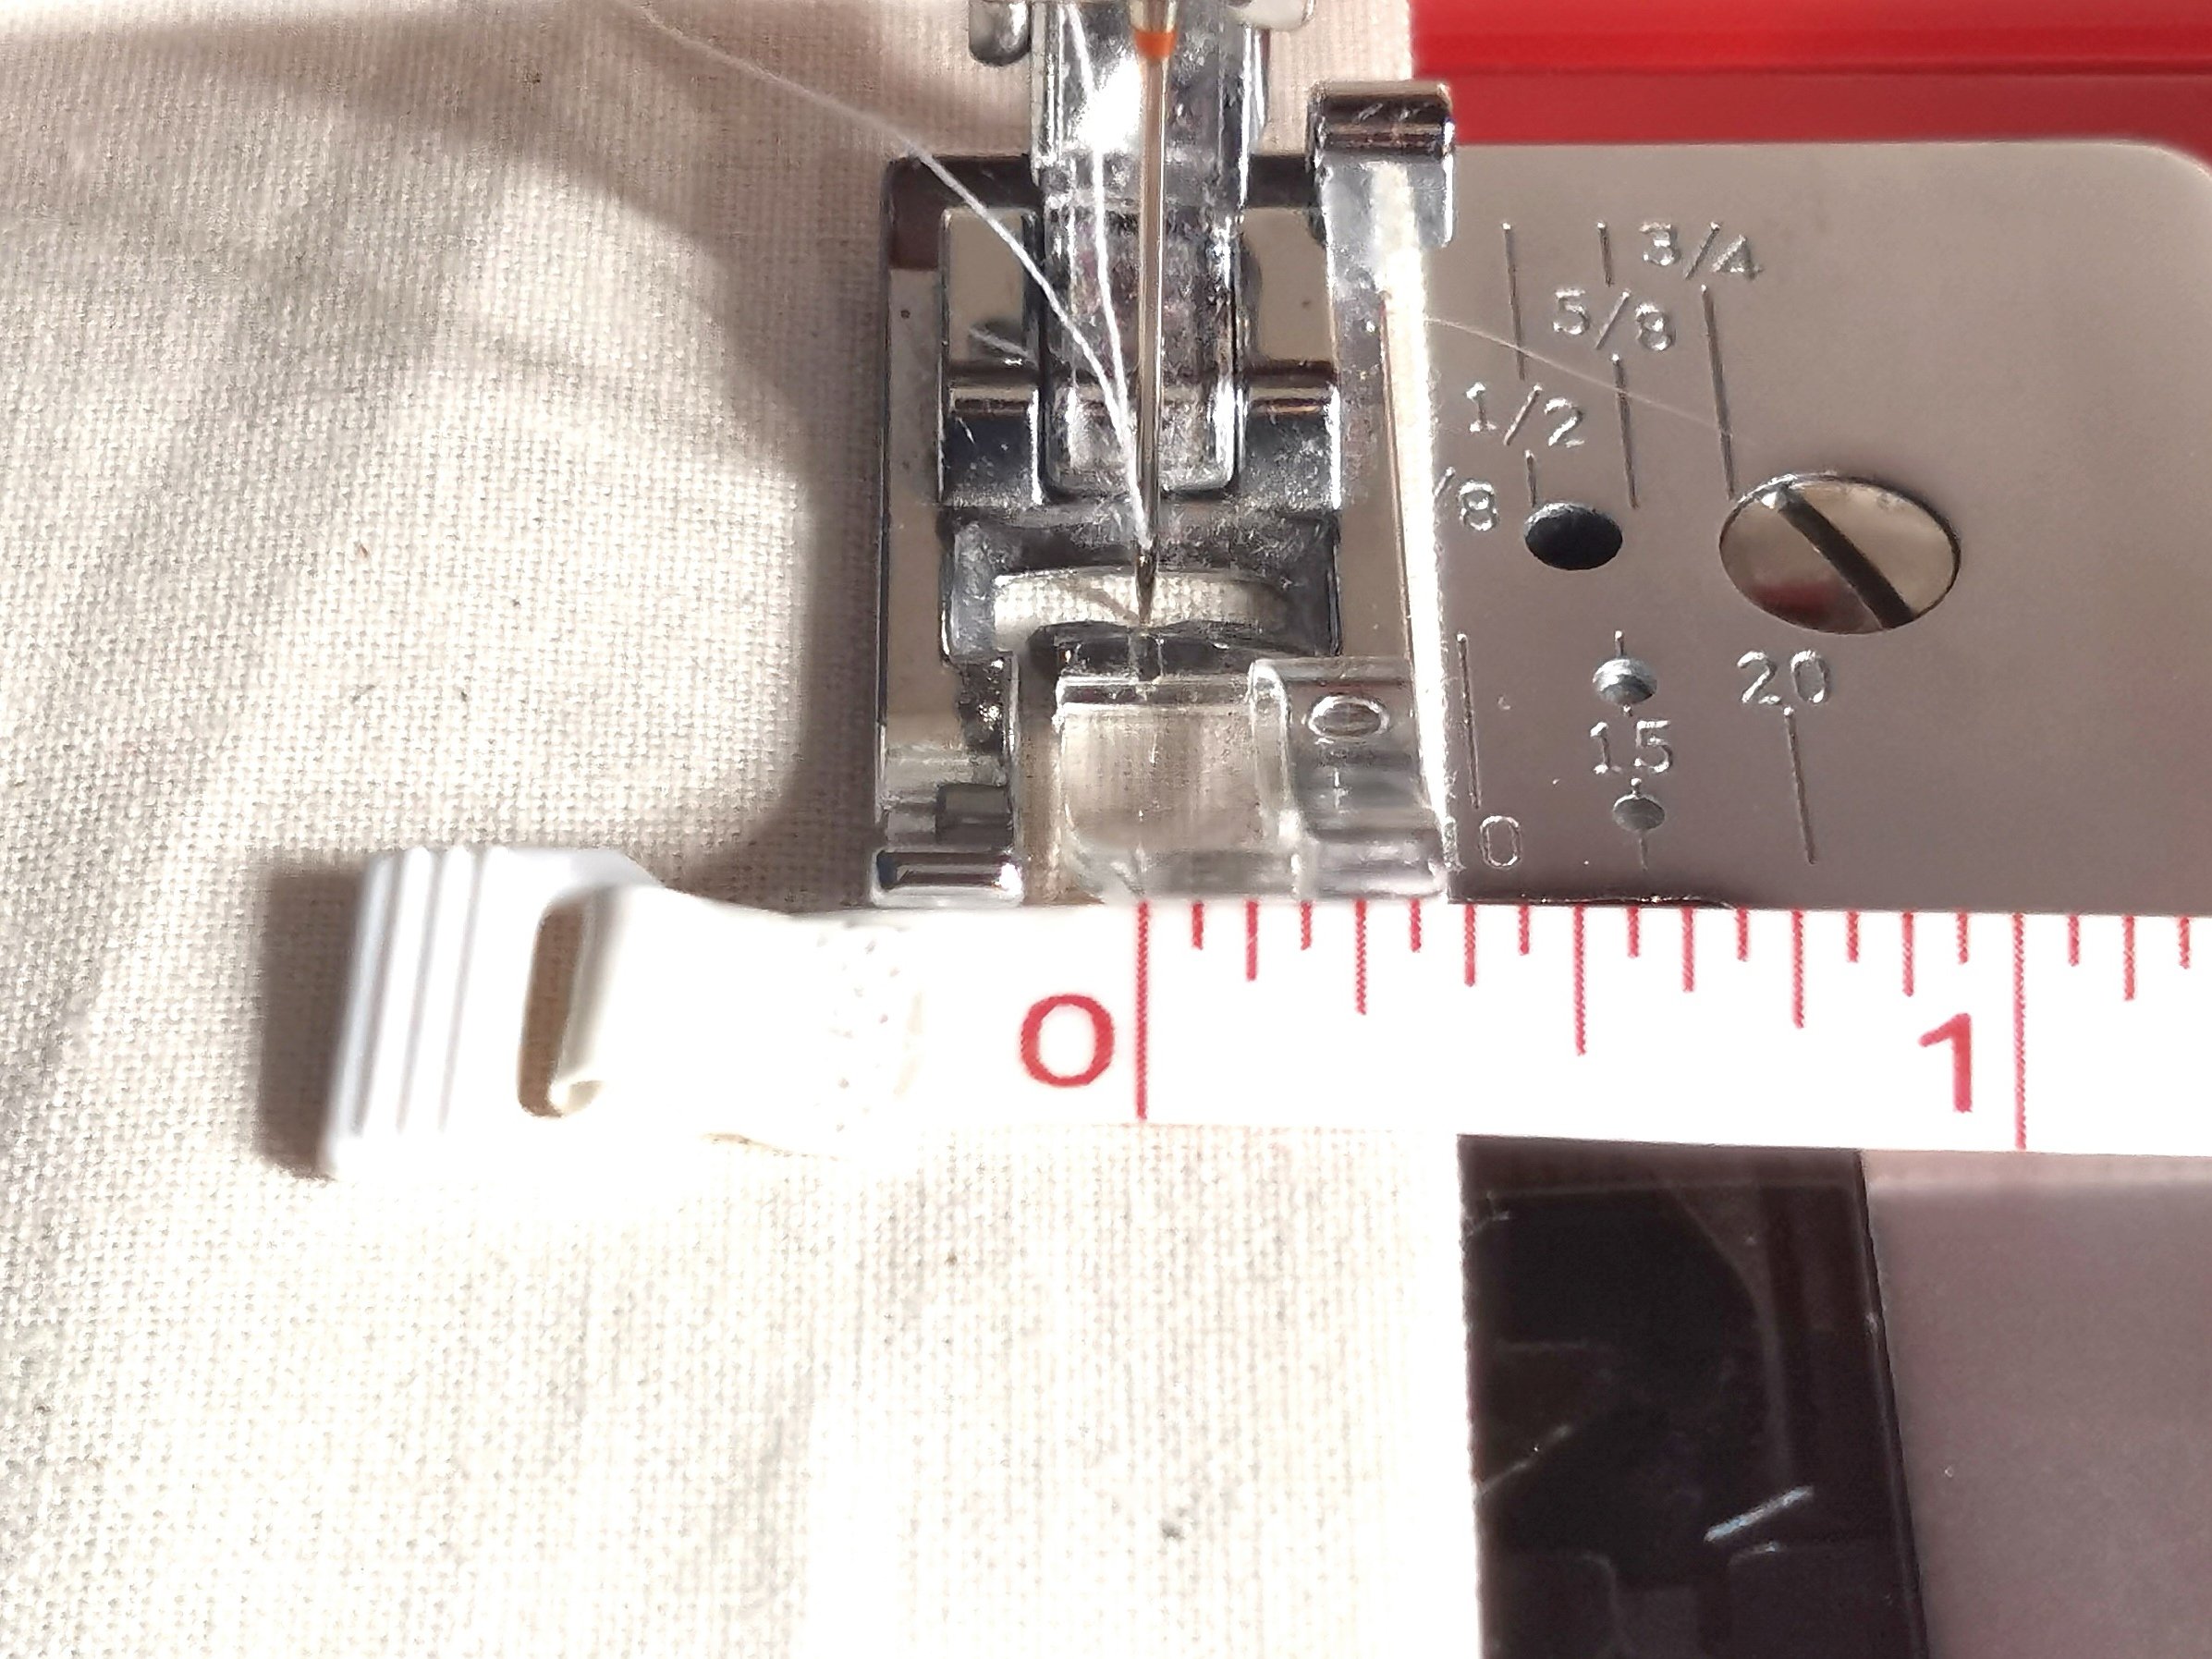
Washi, masking or painter’s tape
Just measure and place your tape so that you can stitch along the edge. This is ideal for topstitch to create or divide pockets, where you have no seam or fabric edge to guide you. I find that I can reuse pieces of tape multiple times before they lose their sticky surface.

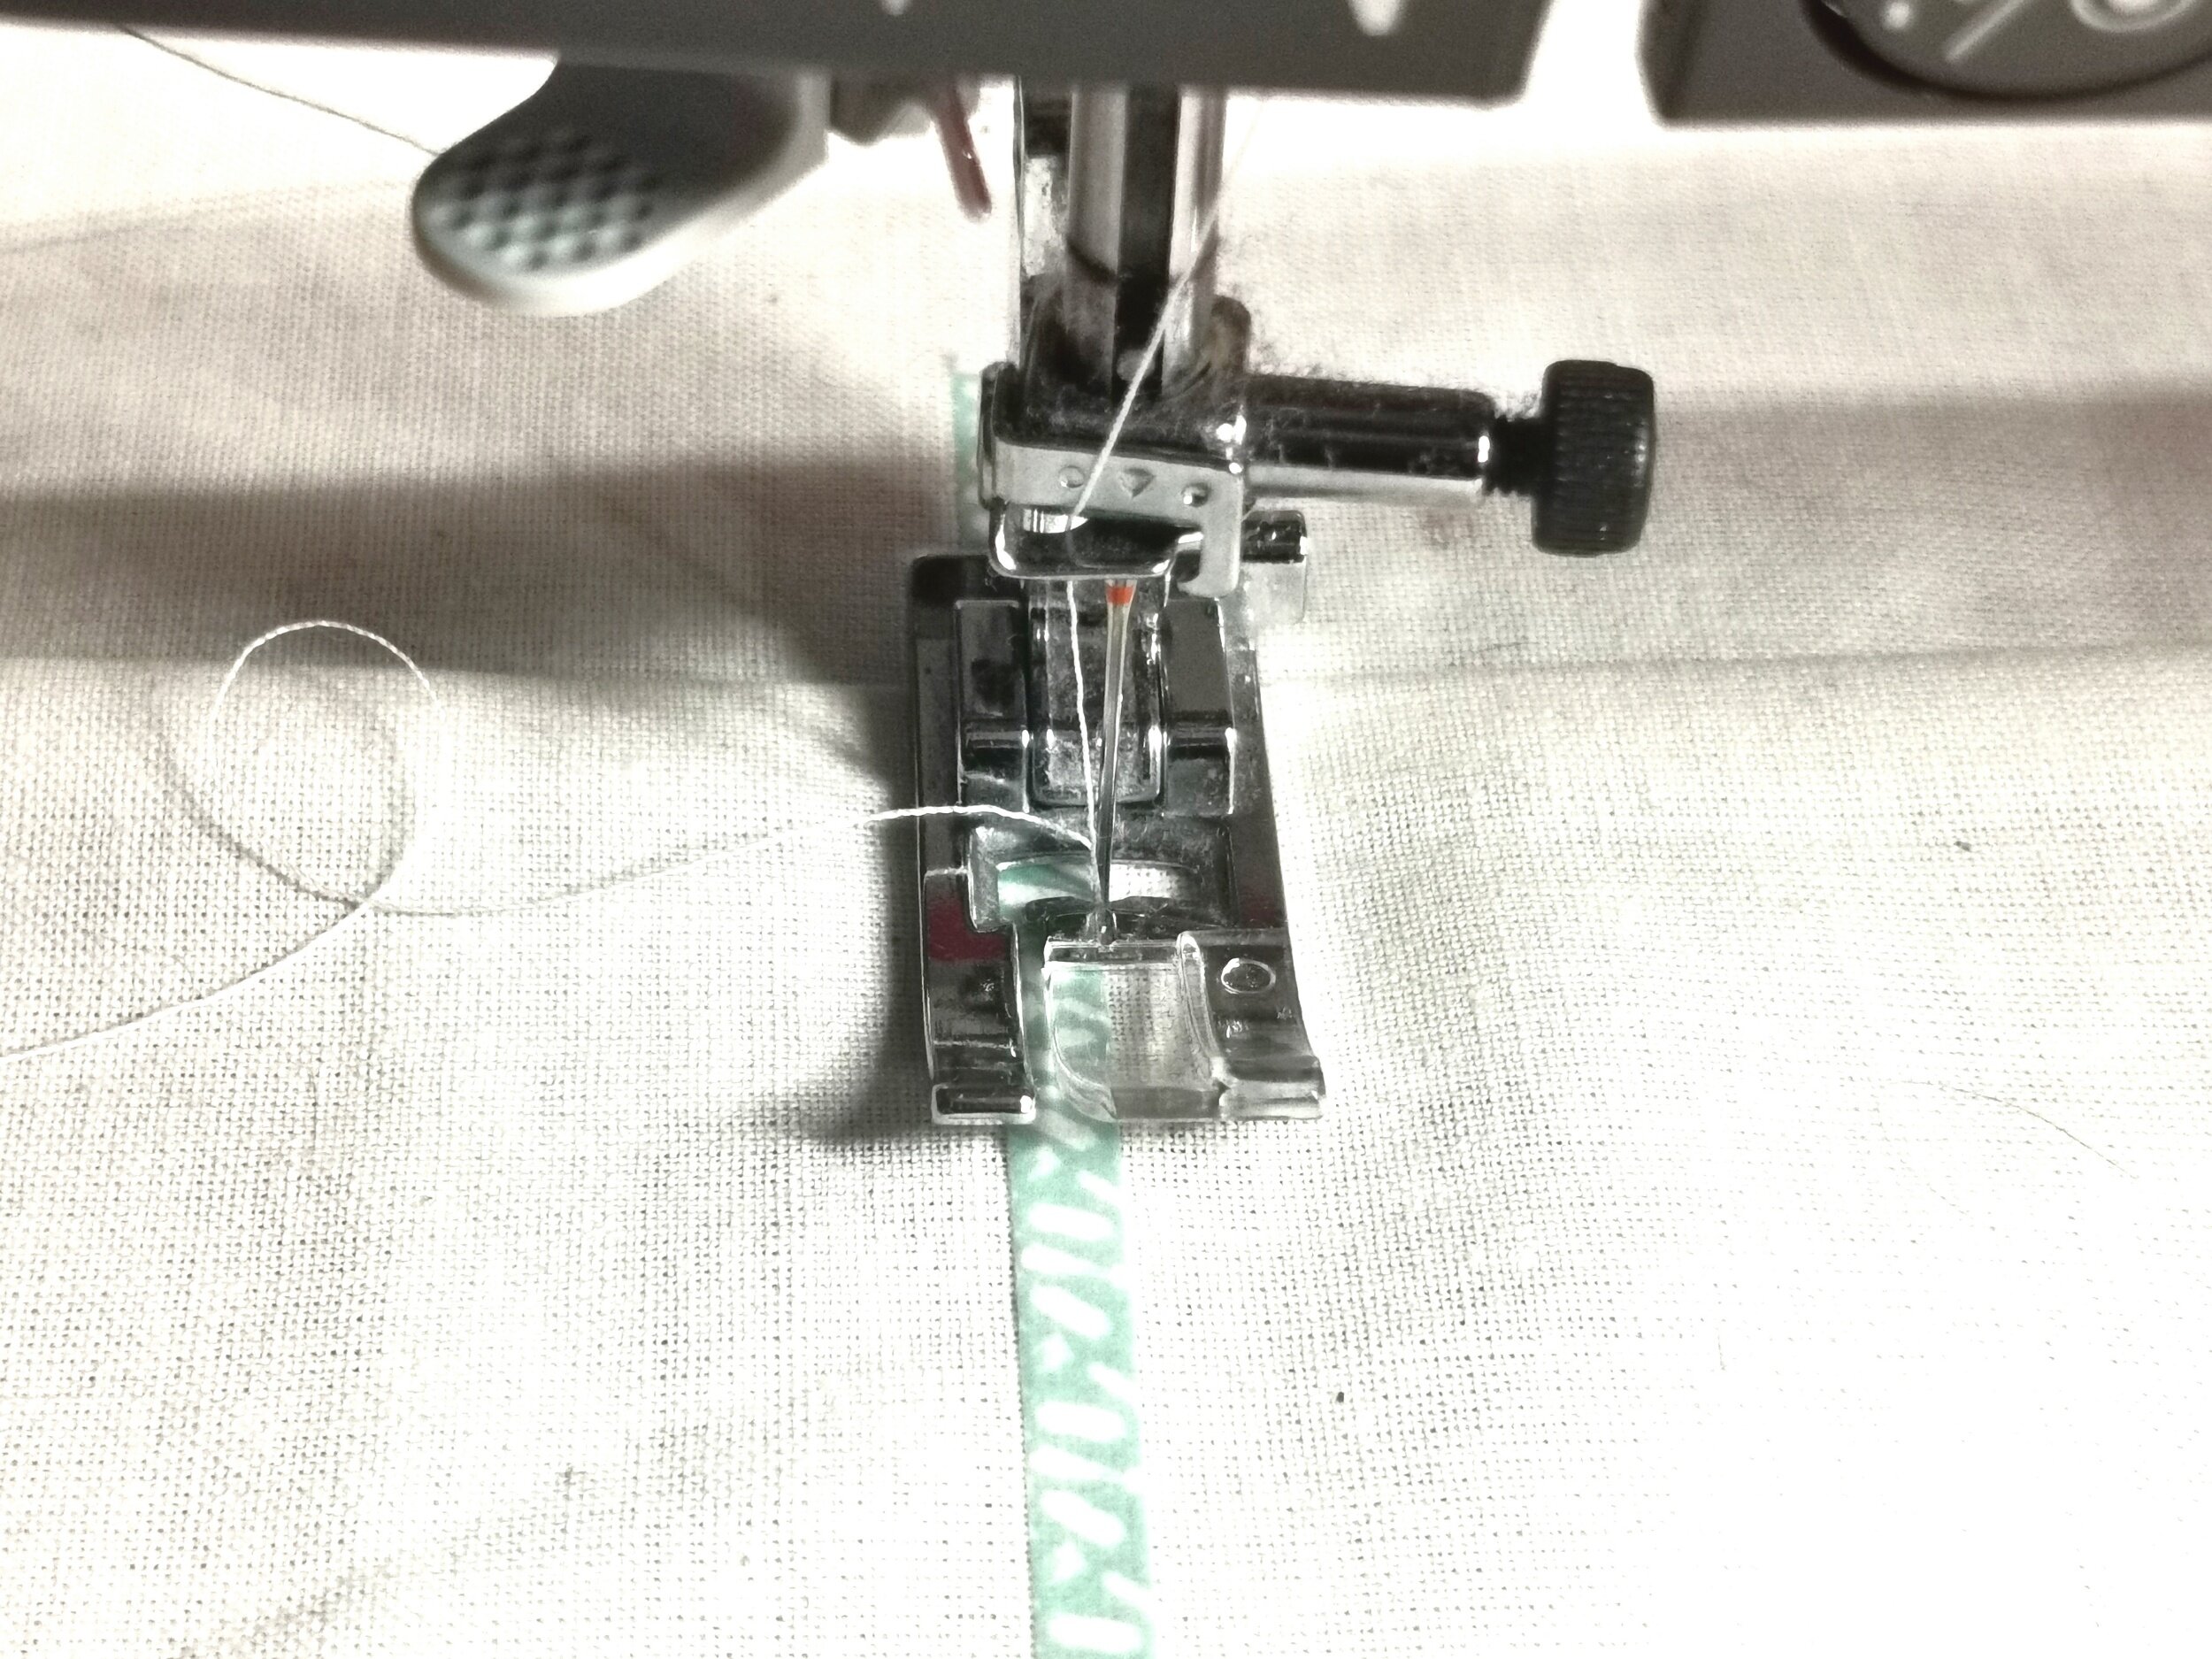
Fabric marker
The line shown here is good, old-fashioned chalk, which can be removed with a damp cloth. There are various other kinds of removable marker available. Just be a bit careful of heat-removable pens, as the lines can return in the cold or after washing!
Last but not least, this is how I do my top-stitching!
Start with a stitch length of 1.5mm or 2mm, and backstitch.
Change the stitch length to 3mm and stitch the seam, using one of the above methods as a guide to get a straight line.
Change it back to the smaller stitch length, and backstitch again.
If the stitching will be seen from all directions, you can start and finish without backstitching. Leave ends that are long enough for stitching with, and individually bury each end in the work, stitching as invisibly as you can, and changing direction a couple of times. Pull the thread before cutting close to the work; when you release the tension the end will slide into the piece so that it can’t be seen.
You can choose to stitch with the same thread that you usually stitch with, or for more impact choose a thicker thread. I love using variegated quilting thread! If you choose to use a top-stitching thread, use a heavier needle, and check your tension. An alternative to this is to use your standard thread, but add another reel. The needle is threaded with both strands.
I hope that this guide will help you to create your best ever top-stitching! See below for some examples of top-stitching from my designs. Click the patterns to see more or to buy.
Happy sewing!


These are the patterns pictured in this tutorial:


