
How to create a basic strap with perfect finished ends
Straps are usually the final element that you need to sew to complete your home-made bag. When you have been battling with foam, zips, and all of the other fancy details, you don’t always want to spend a lot of time and effort on the strap. One way to deal with this is to buy a ready-made strap to go with your bag. My Una Boxy Bag was designed with that in mind, as there are some gorgeous straps available to buy. However, buying a matching strap is not always an option, so you need to know a reliable way to make a strap.

The Una Boxy Bag was designed for a pretty ready-made strap
The most basic straps are made with folded fabric, with square ends that you either stitch directly to the bag, or add lobster clasps to. This tutorial is for the simplest option, with no special stabilisers or details, just fabric, interfacing, and a clever technique for perfectly square ends!
Before you cut out:
I am going to assume that you know what length that you want your strap to be. Generally, a handle-style strap will be 6” – 12” long, and a cross-body 50” – 60” long (finished length). You can use an existing strap to check what length you prefer. This method of finishing the strap ends makes a standard strap 2” shorter in total than the finished length you want, or will make an adjustable strap 2 ½” shorter.
Cutting out your fabric:
The best straps are made with the fabric cut in the same direction as the selvedge, but instead are often made by cutting across the width, to save fabric and for less joins. The fabric has more stretch across the width, so be aware of that when sewing, to avoid twisted straps.
To calculate the fabric cuts, start with your chosen hardware. Your cuts will need to be four times the width of the ring at the base of your lobster clasp. For a ¾” clasp, cut 3” wide, for a 1” clasp, cut 4” wide, and for a 1 ½” clasp, cut 6” wide. For a long strap, you will need multiple cuts, joined together diagonally, like you would for binding. See my free quilt binding tutorial for details on joining strips. You can use an online binding calculator to help work out the number of strips to cut, if needed.
Interfacing your strap:
Once you have cut out and joined your fabric strips to make the strap, press the seams open then trim off any overhanging triangles. Cut your fusible interfacing strips to the same width as the fabric. These can be cut across the full width of the interfacing, to minimise joins. Fuse the interfacing to the wrong side of the joined strips, slightly overlapping the interfacing rather than butting the ends together.
Pressing the folds:
Now you are nearly ready to make the strap. The preparation often takes longer than the sewing! Start by folding your strap in half lengthwise, right sides out, and press. Open it out, the fold the raw edges just short of the centre, and press again. Finally, fold everything together and press one more time.
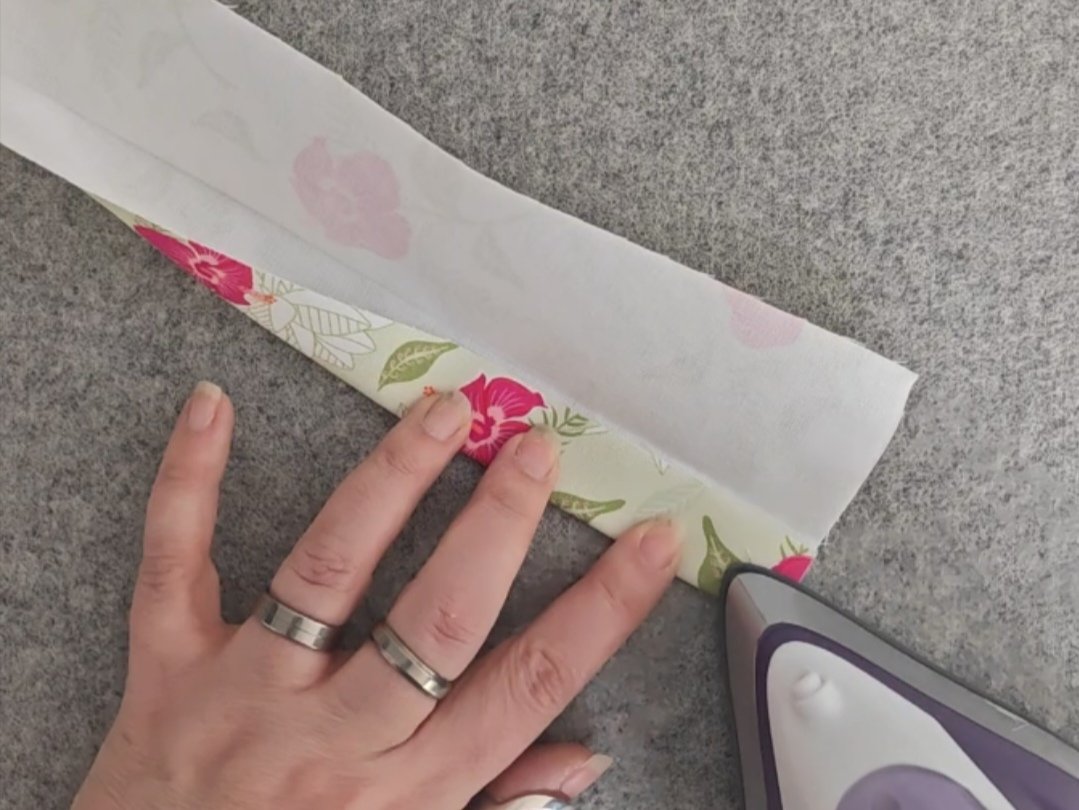
Fold the edge in to just short of the centre crease before pressing
Creating the square, finished edge:
This next bit is where the magic square edge happens! Starting at one end, fold the centre crease back, the opposite way to how it is pressed, and open out one side. You will be stitching through three layers, then will be tucking the last piece in to hide any visible raw edges. Stitch from fold to fold, leaving the flap unstitched, using a ¼” seam allowance. Trim the inside two layers to approximately ⅛”, curving upwards just short of the middle fold. Fold the seam allowance of the open flap down then pull it around the ends you have just sewn. Turn through, use your point turner to poke out the corner, and press. Repeat for the other end, then press the whole strap, and top-stitch at ⅛” in from each side.


Finishing the strap:
If you are making a really basic strap, with no hardware, you can stitch your strap directly to the bag. This usually happens before you add the lining, and you can add some extra interfacing or similar to reinforce the area where you will be stitching. Stitch around the end of the strap in a rectangle, and then, for added security, stitch diagonally, corner to corner, to make an “x”.

Strap stitched directly to a bag
If you are making a basic removable strap, with no adjusters, you just need to attach a lobster clasp at each end. To attach your first lobster clasp, slide one end of the strap through the loop of the clasp. The end of the strap needs to be ¾” from the bottom of the bar. Stitch across the end at ⅜” up, then swivel, stitch down, across again, and back up, using your hump jumper where necessary.

Strap with attached lobster clasps
Finally, if you are making an adjustable strap, you need to start by adding a strap adjuster, sometimes called a triglide, to one end. Feed your strap around the centre bar, and stitch it as for the lobster clasp. You will probably need your hump jumper, as the edge of the adjuster may be under your machine foot. Next, with the stitched end of the strap facing up, add your lobster clasp to the other end, then feed it up through one side of the strap adjuster, and back down through the other side. Feed the end down through the second lobster clasp, and position the end at ¾” past the bar. Stitch as the instructions above.

Strap with strap adjuster and lobster clasps
There are plenty of other ways of making interesting handles or straps. I have some different options in the Fabulous Fifties Frame bag, the Adjustable Bottle Sling, the Hoop-La Project Bag, and the Slim Laptop Sleeve. They are great if you want something different! And if you want something simple, you now know how to make a lovely, finished folded strap.
Happy Sewing!
Hazel x


